 |
| Before |
 |
| After |
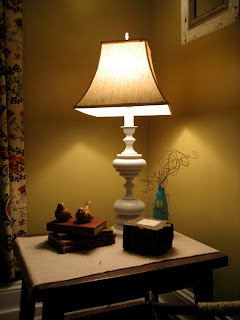
I loved this before|after DIY featured in Room 2 Think
After seeing it I knew exactly what lamps I could recreate!
These lamp look-alikes were passed down from Steven's parents and looked sweet as they were, especially the shades, but with all the dark wood and furniture in our living room, I thought I'd give spray paint a try!
Step 1.) Prep lamps by removing shade, covering bulb with cling wrap and duct tape(for whenever the cling wrap doesn't accomplish its job!). Make sure to cover the plug and cord also.
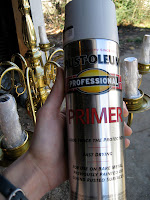
Step 2.) Prime lamps with a primer spray paint such as Krylon white primer, or Rustoleum professional primer.

Make sure you get a good coat of primer on whatever you're painting, especially if it's brass or another type of metal.
Step 3.) Spray those lamps with your paint of choice! I used White in a satin finish. Glossy=lots of shine, Flat=no shine, and Satin=lil bit of shine. I used almost a whole can of paint to make sure I got every crease covered, so keep that in mind when you're buying supplies. I made too many trips to Lowe's! I recommend Rustoleum paint; their cans have a nifty trigger that keeps your finger from cramping.
 |
| Newly painted white! |
I also had to learn that spray paint works best if you stay back farther than you think! If you spray up too close the paint will puddle and drip, and you don't want that, or you'll end up doing more work by trying to sandpaper the drips off later.
Then just wait for them to dry!
 |
| Don't mind Jackson on the couch. |
Don't they look great?
I love how the bright white pops out with the window trim and crown molding.
I love how the bright white pops out with the window trim and crown molding.
I am amazed at how easy and quick this project was, and just think about the amount of moolah you can save by giving an old lamp an update rather than buying brand new ones!


Hey Allison, i am a new follower and i LOVE your blog, i especially love your coffee table in this post. did you make it?
ReplyDelete